As wikipedia says oldest halftone image printed in a newspaper back in 1873
Long, long time ago, before prices of inkjet and laser printers fell to levels allowing home users to own and use them, there was a primitive printing technology called dot-matrix. As any technology of the past, it is not competitive anymore. However it still has few advantages and one of them is reliability of these devices. Some time ago I found quite a cheap Oki 3321 printer that has 9 pin head and is capable of printing on A3 paper in portrait orientation. Usual mode of printing for these devices was simple text mode, where you just were writing your text in ASCII (or any weird coding popular in your country of origin) to its parallel port. Fortunately these printers usually had also graphic mode, where you could fully use capabilities of the device.
I already was experimenting some time with my device, so I already know it uses Mazovia variant (with zł as single glyph) as its codepage. I was also able to guess how to switch into graphic mode, so in theory I was able to print images for some time. Unfortunately any CUPS drivers I used did not provide acceptable results, so all I could do was to write some support tool myself. Continue reading “Printing pictures like its 1873 using Oki 3321 dot-matrix printer”→
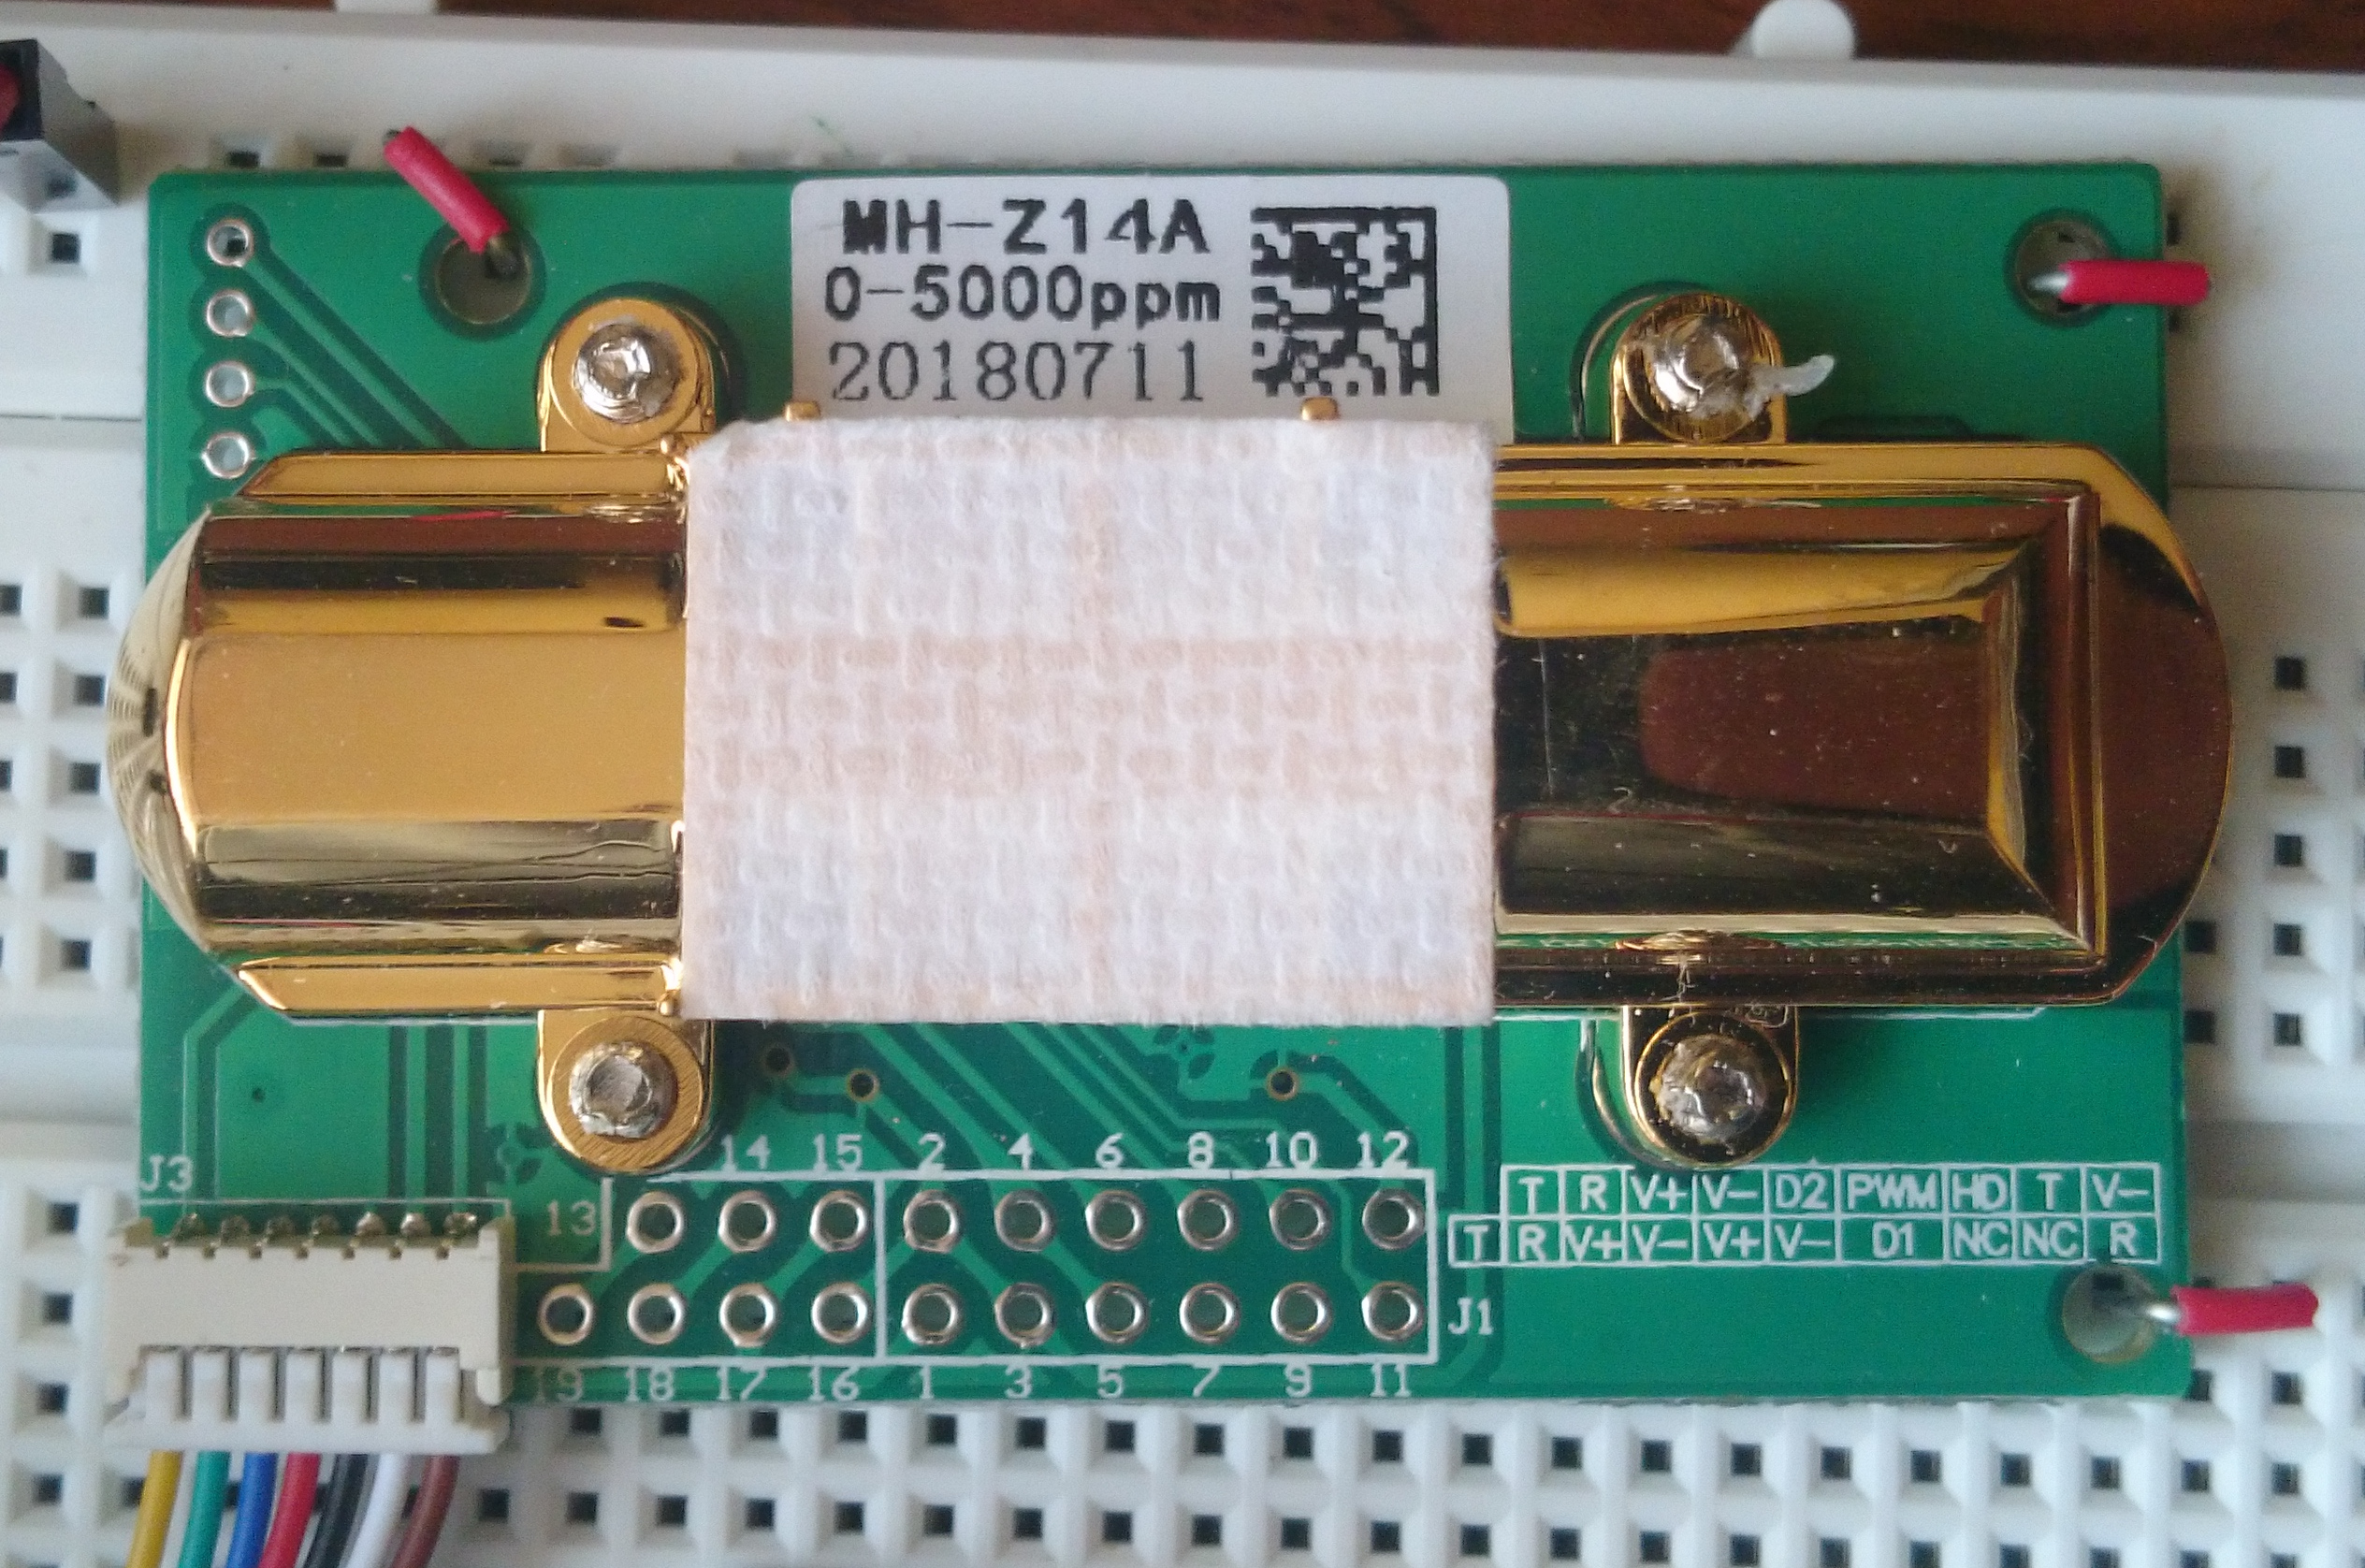
When I have seen CO2 sensor for the first time, it was quite expensive device. Well, if one want to buy consumer device these days, it still could cost a lot. However in the days of cheap Chinese electronics sellers on biggest auction platforms, for makers, situation is quite different now. MH-Z14 is the cheapest CO2 sensor I was able to find. I costs about $19 and comes in few variants: MH-Z14 and MH-Z14A. Also it can measure up to 1000 ppm, up to 2000 ppm or up to 5000 ppm. However the range does not matter in practice, as it is possible to switch between them using UART.
The device interfaces are quite flexible for such a cheap device, as beside mentioned UART port it provides PWM and analog output. However, I was not able to measure valid value using analog and my cheap multimeter. Maybe some more sophisticated equipment is required for that.
I have to make one note here: device I bought is labeled as MH-Z14A and its range is 0-5000 ppm. Other variants might have different features. For mine, there is no UART protocol documentation. Yet, protocol documented under name MH-Z14 works, so be careful. Continue reading “mhz14a – program for managing MH-Z14/MH-Z14A CO2 sensors via UART”→
While tinkering with spy camera, I found one detail that is significantly slowing the process of reverse engineering and debugging the applications, installed on its embedded Linux platform – finding final values of preprocessor directives and sometimes also results of sizeof() operator.
As I am not aware of any existing solution for that problem (I guess there might be some included in one of the more sophisticated IDEs, however I use Vim for development) it is good reason to create one. By the way I used cmake template I published some days ago to bootstrap the project. Continue reading “SADVE – tiny program for computing #define values”→
As I wrote few months ago, I bought tiny WiFi camera, advertised as a spy camera or nannycam. This week, I decided to work on the topic a bit. However, due to some serious failure, I alarmed on Twitter, I was not able to connect to its WiFi hotspot anymore. Therefore I had to use UART to recover it from backup. Below you can find parameters needed to connect to this cam. At first however I want to present any identification numbers, that might be useful to confirm it is the same device, as it has no real name.
Identification
Device overview (rubber package already stripped from PCB)
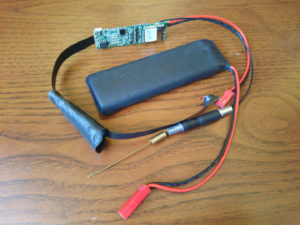
As can be seen in picture on the right, the device consists of main PCB, camera with tape cable, battery pack and optional USB cable for charging. To be able to reach UART header, I had to strip the rubber package from main board. Below I was able to see two identification strings:
HB-WIFI-Z6 – this is most likely the name of the board, unfortunately neither Google or even Taobao does not know it
MS-ME198407 – this is very interesting, as it seems to mean some internal name of laptop computer (don’t know who is the vendor)
Furthermore on camera tape there is one more magic string – HY-OV9712-6. After first dash it seems to be oh – not to be confused with zero). How do I know it? Because OV9712 is model name of camera optics made by OmniVision and it more or less matches the parameters of the camera.
Last batch of IDs is, at first processor name and vendor, which is quite unusual at least outside China – T10 made by Ingenic, which appear to produce MIPS cores and dev boards for it. Also I can see in logs the board should be called ISVP, which is not necessarily true – see Google. At last cpuinfo says that system type is mango, which appear to be fairly common in cheap Chinese cameras. Continue reading “UART pinout for noname spy camera”→
Writing unit tests along with the source code (or even before the code itself – see TDD) is currently very popular among programmers writing in languages like Java or C#. For C code, however it is a bit different. There are only a few frameworks enabling the possibility to write unit tests. One of them is quite special – it allows to mock functions. And its name is CMocka. Unfortunately there are not many resources that describes the process of setting up cmocka, especially together with cmake to allow programmers add new executables, tests and mocks without unnecessary overhead. But before showing how to do it, let’s go back to basics (if you already know them, you can skip next heading). Continue reading “Using CMocka for unit testing C code”→
Few years ago I compiled kernel drivers of cheap USB-to-serial converter for my previous Android phone. It took few years of using new phone, without single custom-compiled kernel module. Now it is time to change it. By the way, I am going to describe what changed and what hacks have to be made to make the process work on stock ROM, provided by Sony.
kernel is the key
First of all, we need kernel. To be precise, kernel sources. Without that, it is really hard to be successful (I don’t want to tell it is impossible, but really hard, believe me). Because Sony is very liberal in terms of cooperation with community, they provide anything required to tinker with the device (obviously together with caution message about warranty loss, but who cares, right? 🙂 ).
First of all, we need to know, which firmware version the device uses. To be found in Android settings, as compilation number, or something like that. For me, it is 23.5.A.0.575. Then, we have to visit Open Devices downloads section and find our firmware. For me, it was a lot of scrolling, as I have no updates available for quite some time. Inside the package, there should be kernel directory, with complete kernel sources. Continue reading “USB to serial converter drivers for Android revisited”→
In this structure magic is always set to 0xf1, type is one of the below values, packed on single byte and length count data that follows this packet, so if it is equal to zero, only those four bytes are transmitted. Continue reading “PPPP API: what I know”→
Lately, I bought some random, noname spy camera from usual Chinese sources. Just after unboxing, one detail seemed a bit suspicious to me: together with the camera there comes a link to Android app, that is meant to control the camera. What is worse, the link leads to some Chinese app shop, obviously with only one language available (notice the version – 1.0.33, as it is not the only one in the wild):
As I’ve already seen apps that i.e. calls home, despite having no need to open a single socket and then sending data like IMEI, IMSI, MAC addresses and so on, red lamp turned on and I said to myself: stop. Let’s reverse engineer the thing first!
OSINT
Before I begun my reverse engineering, I attempted to ask uncle Google (and his friends 🙂 ) to gain some knowledge. Usual virustotal gives me this:
Few weeks ago I made an attempt to reverse engineer some obscure Android APK. It was available only through some Chinese shop, obviously described in only one language there. Unfortunately, it turned out that every tool designed for reverse engineering APK files outputted source with mysterious resource IDs, as plain integers, which is not the most convenient way to read them. Therefore I started looking for any way to find some meaningful name from these ids. At the end of my development effort I found out, there is one file that usually might be used for that purpose – res/values/public.xml, as produced by apktool (if I remember correctly). However, according to its name it contains only public resources, so some of them are missing there (in my case at least some drawable type resources were missing). Therefore, I am publishing my program to do things even more reliably.
arscutils
This program requires my library created together, but which is separate project – libarsc. It is available, as usually through Github and also as a package to be downloaded from PyPI. Just type:
Installing client certificates to Firefox for Android
As we now have Hidden Service, requiring clients to authenticate themselves with proper certificate, it would be great to be able to use Android device to access the service. As I shown before, on desktop Firefox it was quite trivial. Unfortunately, things are different on Android. Mobile Firefox does not have any interface for adding any certificates. Furthermore, unlike Chrome, it does not use default Android certificate vault, providing it own instead. On the other hand, under the hood it is more or less the same Firefox, so the support itself is present. Therefore, we need to hack into Firefox internal databases and add the certificate there. In this part, I will show, how to do that.
Caution: similarly to desktop browser, you should not add any random certificates to your main browser. It is even worse idea to do the same with Orfox, as it might allow attackers to reveal your identity. Newer Androids have ability to create user accounts, furthermore Firefox has profiles features, just like on desktop, but harder to use. If you want to do, what is described here, separating this configuration from any other is first thing to do.
Installing CA certificate
Before we do that with user certificate, let’s start with CA. It is way easier, as Firefox has convenient feature allowing to install certificates by browsing them. All we need to provide is a valid MIME type – application/x-x509-ca-cert. So, all we need is some webserver, which we will configure to treat files with extension .crt to be treated as mentioned type. Just after opening certificate file, Firefox should ask if you are sure about adding the certificate and allow you to choose for what purpose it will be used. It also allows to view the certificate to make sure, it is the one we intended to add.
At first, check the certificate
Then use it only for website identification
In theory there is very similar MIME for user certs – application/x-x509-user-cert, but for some reason, what Firefox says after opening this type of file is:
“Couldn’t install because the certificate file couldn’t be read”
And the same effect is, no matter if the file is password protected or not.
Installing client certificate
Go to /data/data/org.mozilla.firefox/files/mozilla on Android device (root required)
Locate default Firefox profile. If there is only one directory in format [bloat].profile, this is it. If not, file profiles.ini should contain only one profile with Default=1. This is what we are looking for
Download files cert9.db and key4.db to Linux machine
Use pk12util to insert certificate into database:
$pk12util -i [filename].p12 -d.
Enter password for PKCS12 file:
pk12util: no nickname for cert in PKCS12 file.
pk12util: using nickname: [email] - r4pt0r Test Systems
pk12util: PKCS12 IMPORT SUCCESSFUL
Upload files back to Android. Make sure Firefox is not running
Test it by opening your hidden service with Firefox. You should see messages similar to these: