NOTE: This post was imported from my previous blog – v3l0c1r4pt0r.tk. It was originally published on 1st November 2013.
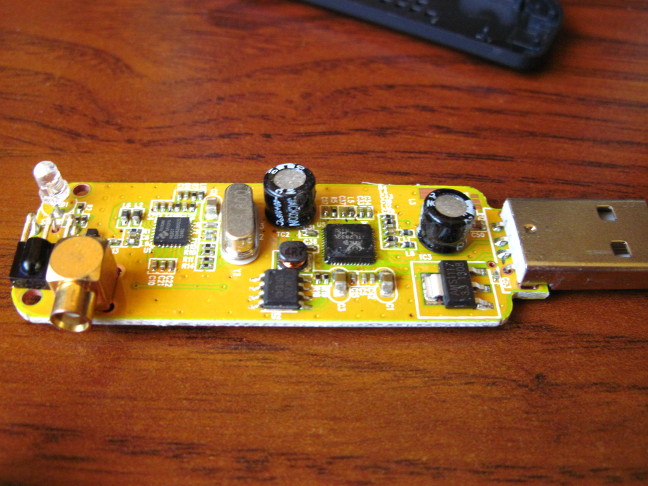
First post about hardware was to be something different. Unfortunately it looks like that project already failed so it probably will never be published. Instead I’m starting, I hope series of posts, about cheap Software Defined Radio dongles based on RTL28xxU chips. This post will be short introduction to the topic of RTL-SDR and it will mostly be the same as my Instructable here.
If you get here I imply that you already know what SDR is. If you don’t take a look at Instructable linked above. Getting one is for yourself should be easy. There are lots of offers on ebay that have names of chips included in the title so you should just search for rtl-sdr and i.e. R820T. That chip is one of the most capable and cheap in contrast to E4000.
Installation
The only things we will need here is some Linux distro and of course a tuner. As Linux I recommend Arch, because of availability of packages required and simplicity of its installation. There would be good if you have better antenna for the tuner and in that case you should also have adapter to standard antenna connector.
If you are ready you can now connect your dongle to PC and check using dmesg | tail or journalctl if it is has been detected by your system and if it contains appropriate chips.
If you chose the one with R820T it is probably required to disable default dvb_usb_rtl28xxu drivers, because, at least in my case, after disconnecting the dongle system hangs and the reason is for sure fault of that particular driver. You can disable it by creating new .conf file in /etc/modprobe.d directory. It could be done i.e. by typing # nano /etc/modprobe.d/blacklist.conf in console. The file should contain one line: blacklist dvb_usb_rtl28xxu. You also need to add that file to FILES variable in /etc/mkinitcpio.conf so it looks like that:FILES=”/etc/modprobe.d/blacklist.conf” and generate new initrd file by using # mkinitcpio -p linux. Now after restarting your computer everything should be OK.
Now we will need to install few packages to make RTL-SDR up and running. rtl-sdr and sdrsharp-svn are needed for basic functionality. You probably also want to install gnuradio and gr-osmosdr-git to make more advanced things like analysis of digital signal transmitted at 433 MHz. rtl-sdr is the main driver and can be installed on Arch from community repo:
# pacman -S rtl-sdr

There is also its git version available on AUR as rtl-sdr-git. SDR# is the program that offers basic capability to decode FM and AM radio and have easy to learn GUI so using it is the best for beginners. It is available on AUR as sdrsharp-svn.
The most capable software for RTL-SDR is GNU Radio and its graphical tool: GNU Radio Companion. It is also available on AUR (name: gnuradio). It is also required to install package gr-osmosdr-git from AUR in order to use RTL-SDR dongle as source in GRC. Its usage tutorial is available in the next post and as continuation of Instructable mentioned at the beginning of this post.
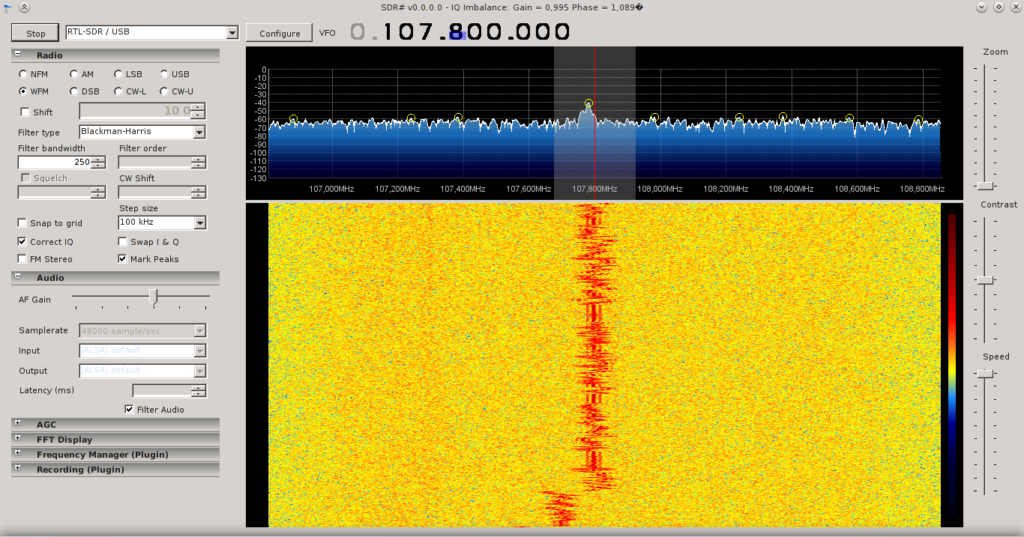
Now if you already installed all the required software you can try to find a radio station at about 100 MHz to check if everything is working fine. As mentioned earlier you could be able to listen to only the strongest stations on the default antenna. Finding one good signal will be useful in the next tutorial. At the end I’m enclosing screenshot of SDR# with settings proper to receive FM station.
