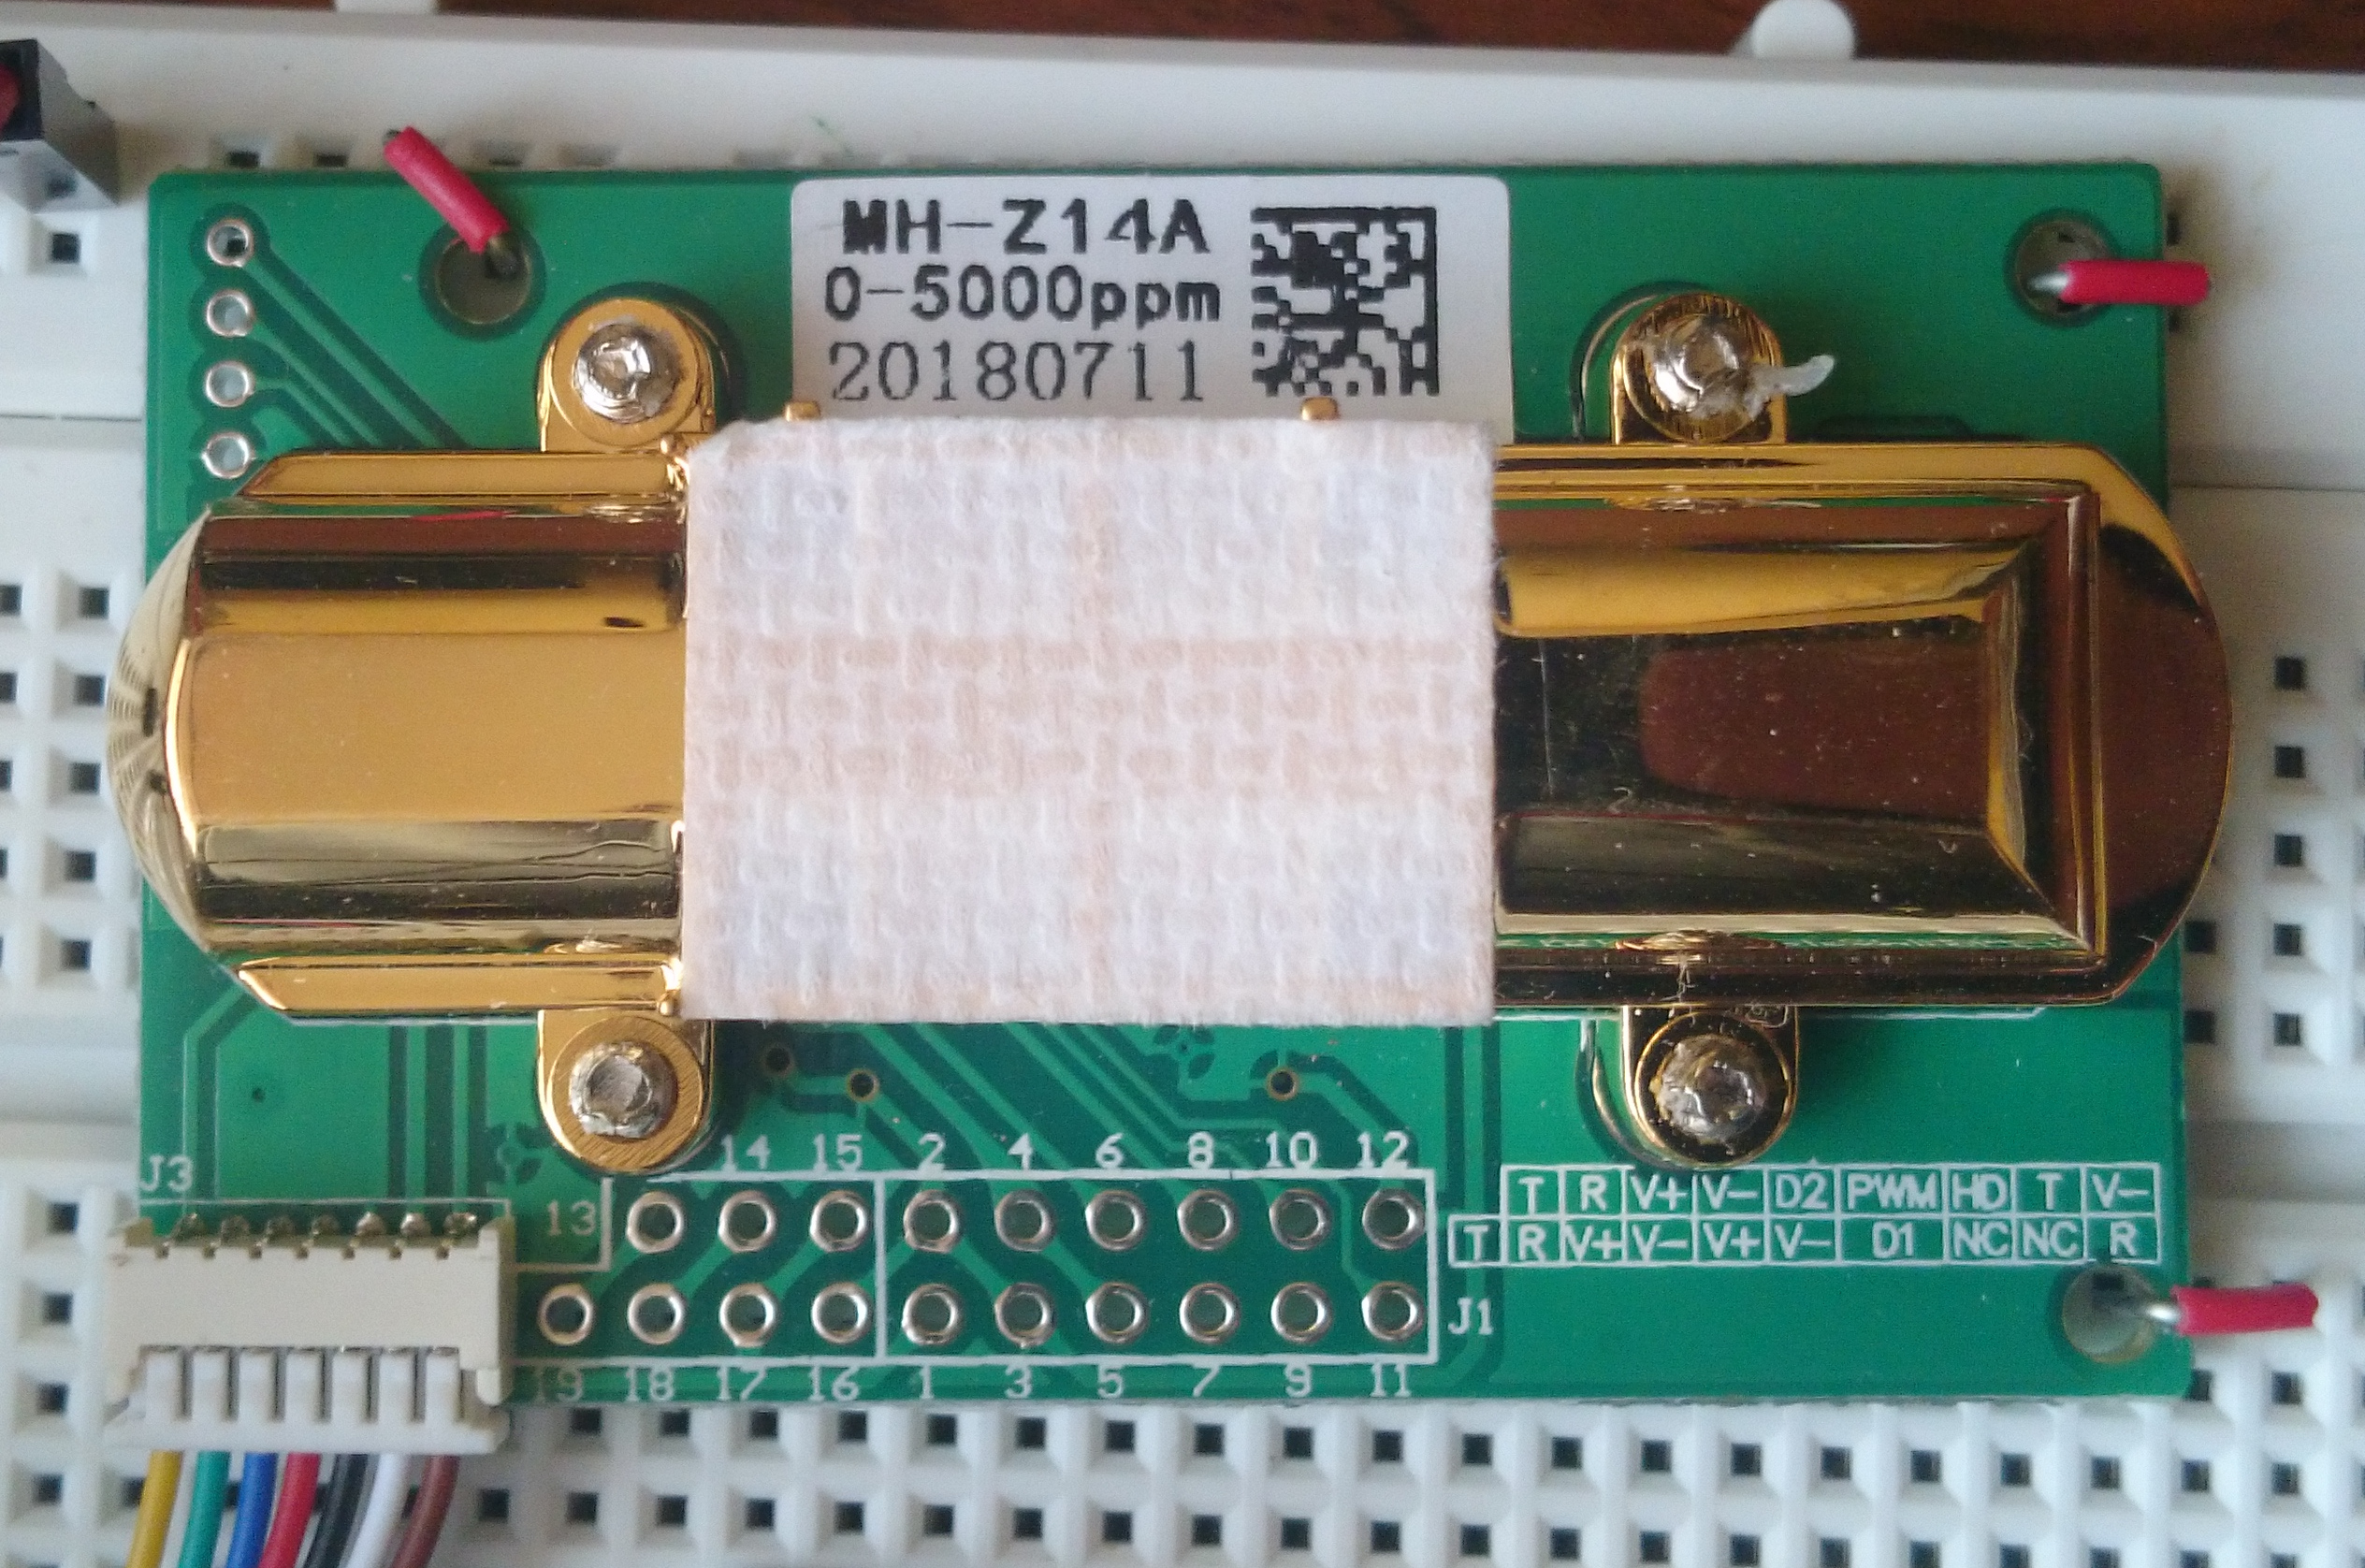
When I have seen CO2 sensor for the first time, it was quite expensive device. Well, if one want to buy consumer device these days, it still could cost a lot. However in the days of cheap Chinese electronics sellers on biggest auction platforms, for makers, situation is quite different now. MH-Z14 is the cheapest CO2 sensor I was able to find. I costs about $19 and comes in few variants: MH-Z14 and MH-Z14A. Also it can measure up to 1000 ppm, up to 2000 ppm or up to 5000 ppm. However the range does not matter in practice, as it is possible to switch between them using UART.
The device interfaces are quite flexible for such a cheap device, as beside mentioned UART port it provides PWM and analog output. However, I was not able to measure valid value using analog and my cheap multimeter. Maybe some more sophisticated equipment is required for that.
I have to make one note here: device I bought is labeled as MH-Z14A and its range is 0-5000 ppm. Other variants might have different features. For mine, there is no UART protocol documentation. Yet, protocol documented under name MH-Z14 works, so be careful.
mhz14a – UART protocol implementation
As UART protocol of the device is quite complex and what is more important a binary one, it is required to communicate with the device programatically. It is impractical to use just a terminal application. For the purpose I created mhz14a program. It wraps all the internals with nice getopt-based interface, so can be used from both interactive shells and scripts. What user has to know is what is his/her UART device path and choose desired command (most likely read – -r).
At first program have to be compiled. For now installation in a system is not possible, so compilation is going to leave binary in build/ directory. Project uses cmake, so to compile one have to execute:
mkdir -p build && cd build
cmake ..
make
src/mhz14a --help
To sum up, basic usage of the program is like below (white are the commands I type):
$ src/mhz14a -r -d /dev/ttyUSB0
410
$
Device documentation
Some sellers provide some basic guide of what is where themselves, so digging for a datasheet might be unnecessary. Fortunately, even if they don’t provide anything, Winsen, who is their manufacturer, provides everything needed. In this case, what is nothing new in the world of Chinese manufacturers, it is worth to see Chinese language variant instead of the English one, as it contain more information.
Final words
For the moment, I don’t have commands described only in Chinese implemented, so it is not possible to switch supported ranges and turn off automatic calibration. However this should not be issue in most cases, as what most users need is just to read sensor data.
I might do some work with the sensor in future, as my initial idea was to switch to analog output just after setting up UART. Unfortunately I have problems with analog pin readings. If I decide to develop the project again, I am definitely going to implement these hidden commands, as well as do some refactoring, as code sometimes looks really bad (thankfully, I was writing some unit tests, thanks to one of my previous projects – cmocka/cmake template, which I used here).
